
Servicing your motorcycle: Understanding oil
|
Time to read 12 min
|
Time to read 12 min
Oil is the lifeblood of your motorcycle. It is essential to lubricate and cool the moving parts of the engine. Without it, the moving parts of the engine would wear, overheat and seize up. Oil is also important to prevent corrosion (rust) of metal parts within the engine.
To be effective, oil needs to be able to flow through the engine and cover all the moving parts properly. The design of each motorcycle engine will require a specific type of oil, which is suited to the heat of the engine and lubrication requirements. The type of oil your motorcycle needs has been carefully determined by the manufacturer.
This guide will break down what you need to know about the engine oil of your motorcycle, and help you understand why using the correct oil is essential for your bike.
Viscosity refers to the thickness of a liquid. Oils are made with different viscosities according to how fast they need to move around the engine and how thick they need to be to cover the working parts.
Your owner’s manual for your bike will have a specification code for the "viscosity" of oil that should be used in the engine under typical conditions.
Oils use a “SAE” classification system to describe viscosity. SAE stands for Society of Automotive Engineers (who developed the system).
SAE viscosity refers to the oil’s thickness or resistance to flow. You’ve likely seen numbers like 10W-40 or 20W-50 on an oil container. These numbers describe the oil’s viscosity grade. Let’s break it down:
The First Number (eg: 10W): This indicates the oil’s viscosity in cold temperatures. The “W” stands for winter, referring to how easily the oil will flow to protect your engine during cold starts.
The Second Number (eg: 40): This represents the oil’s viscosity at high operating temperatures. A higher number means the oil remains thicker and provides better lubrication under heat.
Choosing the right viscosity will make sure that your engine is protected and lubricated, whether you’re starting up on a chilly morning or riding on a hot summer day.
Using the correct oil viscosity is important for maintaining your engine's performance and longevity. Oil with the proper viscosity forms a protective film between moving parts, reducing friction and wear while efficiently dissipating heat to prevent overheating.
During cold weather, oil with a lower viscosity (e.g., 10W) flows quickly to protect the engine during startup, while at high temperatures, oil with a higher viscosity (e.g., 40 or 50) remains thick enough to ensure continued lubrication at operating temperatures.
Using oil with the wrong viscosity can compromise these essential functions, leading to increased engine wear, overheating, or even long-term damage.
There are a few considerations when the right oil for your bike:
Always use the type of oil that the manufacturer recommends. Your motorcycle owner's manual will specify the correct oil viscosity and type for your motorcycle engine. Using the correct oil will ensure optimal performance and longevity for you motorcycle engine.
Cold Climates: For riders who live in very cold conditions, a mechanic may recommend an oil with a slightly lower first number (e.g., 5W-40) for better cold-start performance.
Hot Climates: In very hot conditions, such as high performance racing, a mechanic may recommend an oil with a slightly higher second number (e.g., 10W-60) which provides better protection under high temperatures.
NEVER put a different type of oil in your bike, other than what is specified by the manufacturer, unless a professional mechanic has recommended it.
NEVER mix different types of oils together. It's a good idea to buy an extra bottle of oil from the mechanic, the same as the oil in your motorcycle, in case an emergency top up is needed between oil changes.
Different engines have unique requirements:
Air-Cooled Engines: These tend to run hotter and may need oil with higher viscosity to withstand the heat. You might notice that your manual specifies an oil with a high second number if your bike is air-cooled.
Liquid-Cooled Engines: Some liquid cooled motorcycles might use lower viscosity oils due to their efficient cooling systems, but this is not a hard and fast rule, as high performance engines can produce a great deal of heat.
There are three main types of motorcycle oil. Your manual will tell you which type you need.
Mineral Oil: Some very old bikes may use mineral oil. It’s less expensive but requires more frequent changes.
Synthetic Oil: Most modern bikes will require full synthetic oil. Full synthetic oil offers superior performance, especially for high-performance bikes, and lasts longer.
Semi-Synthetic Oil: A blend of mineral and synthetic oil, providing a balance between cost and performance.
Remember always follow your manufacturers' directions and never mix different types of oils together.
The most common options of oils are Full Synthetic and Semi Synthetic. It is best to avoid substituting one type for another (eg: running semi synthetic when your motorcycle owners' manual recommends full synthetic) because it may compromise your engine (even if it has the correct SAE viscosity number). Here are the key differences between Full Synthetic and Semi Synthetic Oils:
Full Synthetic Oil is the highest-quality oil, engineered for maximum performance and protection. Full synthetic oil is ideal for high-performance motorcycles and riders who demand the best in heat resistance, lubrication, and longevity. It is particularly effective for modern bikes with tight engine tolerances and those ridden in extreme conditions.
Semi-Synthetic Oil is a blend of mineral and synthetic oils. Semi-synthetic oil offers a balance between performance and affordability. It provides better protection than mineral oil and is a common oil for mid-range motorcycles. Semi-synthetic oil is often recommended for everyday use and offers durability for a variety of riding conditions.
Both options have their merits, and your choice will depend on your motorcycle’s requirements.
No. Motorcycle oil is specifically designed for the unique demands of motorcycle engines and transmissions. Using car oil can lead to clutch slippage and inadequate protection.
Follow the intervals recommended in your owner’s manual, which typically range from every 3,000 to 6,000 kilometers. Off road motorcycles may measure the number of hours, not kilometers, and recommend servicing every 10 or 20 hours of Accumulated Run Time (ART). Frequent riders, racers or riders in extreme conditions may need more frequent changes.
Using the wrong viscosity or type of oil can result in:
Increased engine wear
Poor fuel efficiency
Overheating
Reduced engine lifespan
Checking the oil level on your motorcycle is a quick but important task that you should do as part of your daily pre-ride checks.
Always start by consulting your owner’s manual if you are unsure, as the method for checking oil can vary between different motorcycle makes and models. Some motorcycles use a dipstick, while others have a sight glass on the side of the engine, which will show an upper and lower level. It is important to have the bike upright so it does not give you an over-read or under-read. Make sure the bike is vertical. You can have a friend hold it, or place it on a bike stand. Allow the engine to warm up for a minute or so before checking.
For dipsticks, remove, clean, reinsert, and then remove again to get an accurate reading. For sight glasses, simply check the oil level against the markings.
Low oil levels can cause severe engine damage, while overfilled oil can lead to leaks or excess pressure. Regularly checking your oil not only ensures peace of mind but also helps you catch potential issues like leaks or oil degradation before they become major problems.
Key Points:
Park on a Level Surface. Ensure the bike is upright and on a flat surface. You could get someone to hold the bike for you, or use a motorcycle stand.
Ensure the bike is in neutral. Start it up and allow it to run for 1 or 2 minutes. This will heat up the oil to operating temperature, which will make it the correct viscosity to measure.
Use the Dipstick or Sight Glass to check the oil level and clarity. The oil should be within the recommended range and appear clean, not overly blackened, frothy or milky.
Step 1:
Start by consulting your motorcycle owner’s manual. All of the information you need about the type and grade of oil, and the volume of oil required will be in your manual. It is best to have a little extra oil in case of spillage.
Your motorcycle owners' manual also contains information about recommended oil change intervals, and specific instructions to change the oil for your bike model. This is why it is important to make sure you have the correct motorcycle owners' manual for your exact motorcycle make, model and year. Skipping this step can lead to mistakes that may harm your engine or void your warranty.
The owner's manual will also provide guidance on the oil filter needed, which should typically be replaced alongside the oil. Using the correct filter is just as important as choosing the right oil since the filter traps contaminants that could otherwise circulate and damage your engine. An incorrect oil filter can permanently damage or destroy your engine. If you are unsure of which oil filter to purchase, it's a good idea to talk to your local dealership. Often they will sell a complete oil change kit, containing oil, the oil filter and a replacement crush washer.
.
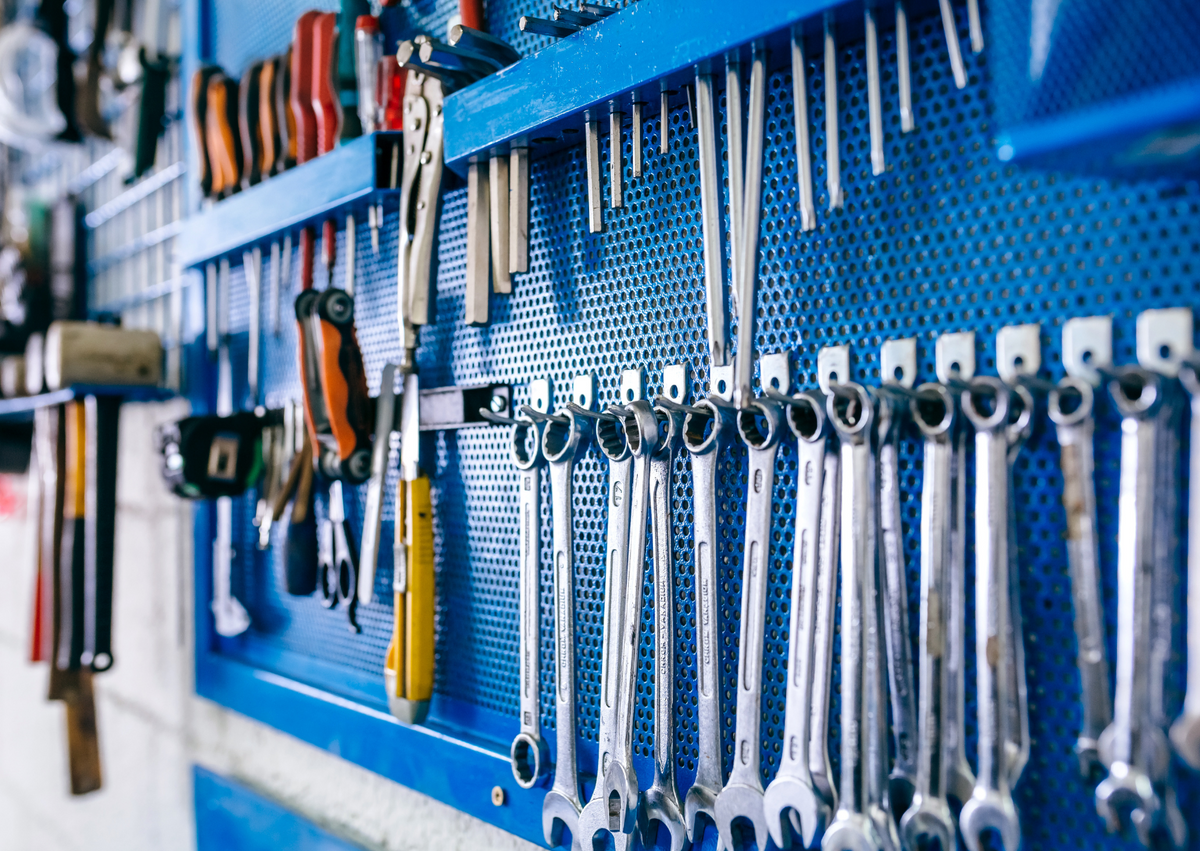
When you’re ready to change the oil, gather all the necessary tools and supplies. You'll typically need spanners in the correct size to remove the drain plug and oil filter cover, needle-nose pliers to remove the oil filter, a wide container such as a deep tray to catch the old oil, and a funnel and measuring jug for pouring in the new oil. It is also a good idea to have some old cloths or oil absorbers ready, in case of spillages. Putting down a ground mat first can also be a great way to save your garage or driveway from oil stains!
Be sure to warm up your motorcycle for a few minutes before draining the old oil. This allows the oil to flow out more easily, carrying away debris and sludge. When you are ready to drain the oil, remove the drain plug using the spanner, with the oil pan or tray ready. When you remove the drain plug, it may need to be wiped clean of debris. It is also a good idea to partially open the oil fill cap, allowing faster drainage.
Some motorcycles may have multiple drain plugs, or additional oil screens. Check your motorcycle owners' manual if you are unsure.
Key Points:
Gather Supplies: You’ll need fresh oil, a filter, spanners in the correct size, a drain pan, needle-nose pliers, a funnel, measuring jug and a few old cloths or oil absorbers. A torque wrench is a very good idea if you have one.
Drain the Old Oil: Remove the drain plug and let the warm oil flow into the pan. Notice that the oil may be dark and may have a carbon smell.
Step 2:
After the oil has been drained, you will need to replace the filter. Begin by locating the oil filter, which may require removing a cover or fairing depending on your bike’s design. Consult your owners' manual if you are unsure.
Before removing your oil filter for the first time, it is a good idea to take photos of each step in the process. This way, if you are unsure of how to install the new filter or put the bike back together, you will have reference photos to guide you.
Use an oil filter wrench, or needle-nose pliers, if necessary, to loosen and remove the old filter.
Before installing the new filter, it is a good idea to soak or fill the filter with fresh oil, of the same type as the engine. This will ensure that your filter is not dry when the engine starts, which can delay the circulation of oil through the engine.
Follow the instructions on your manual to align the new filter by hand and press it into place. It should click firmly. Ensure that it is facing the correct way and fully pressed in, before re-installing the oil filter cover. Always check that the o-ring or rubber seal on your oil filter cover is clean and in good condition, and apply a little oil to it on your finger before reinstalling. Make sure that it is seated correctly.
It is a good idea to use a torque wrench to tighten up your oil filter cover bolts, as these are easy to over-tighten and strip.
Key Points:
Remove the oil filter cover and old oil filter.
Soak the new oil filter in fresh oil, the same as what you will be putting into the motorcycle.
Install the new filter, following the instructions in you motorcycle owners' manual.
Step 3:
After the oil has been drained and the filter replaced, make sure that the oil drain bolt (and any other drain bolts or screens are completely cleaned and reinstalled. It is a good idea to torque these bolts to the recommended specification, if you have a torque wrench. The oil drain bolt will have a copper washer called a crush washer. It is a good idea to replace the crush washer every few oil changes, to ensure a good seal.
Consult the owner's manual once more to check the recommended oil capacity. Over-filling or under-filling the engine can lead to serious performance issues.
Make sure that your funnel and/or measuring jug are completely clean and dry. Remove the oil fill cap and fill the engine slowly, using all of the measured oil.
Clean and lubricate the oil fill cap with a little grease, and tighten it by hand. Check the oil level in the sight glass.
It is a good idea to clean you bike with a little degreaser and water before turning it on. Allow it to run for a few minutes before re-checking the oil level.
Finally, remember that proper disposal of old oil and the used filter is a key part of the process. Never pour oil down the drain or dispose of it in regular trash. Most auto parts stores, rubbish tips and local recycling centers have facilities for handling used oil and filters responsibly.
Key Points:
Reattach all drain bolts to the correct torque specification.
Add New Oil by measuring the exact amount and pouring it into the oil fill hole in the engine. Reattach the oil fill cap.
Dispose of Old Oil Properly. Take used oil to a recycling center.
Stick to a Schedule and Keep a Log Book. Regular oil changes are the easiest way to keep your engine healthy.
Use High-Quality Oil. Don’t skimp on oil quality. Use correct type and SAE viscosity oil recommended by your manufacturer, in your motorcycle owners' manual.
Monitor Oil Condition. Check your oil’s color and consistency regularly. Dark, dirty oil is a sign it’s time for a change.
Watch our instructional video below for more tips on changing your motorcycle oil. While this video shows an oil change on a dirtbike, the process will be the similar on all four stroke motorcycles.
Always consult your owner’s manual for oil type, filter specifications, and capacity.
Warm up the engine briefly before draining the old oil for better flow.
Replace the oil filter every time you change the oil.
Use a funnel to avoid spills when pouring in new oil.
Check for leaks after completing the oil change.
Dispose of used oil and filters responsibly at a recycling facility.


